Installing a CPVC valve seems simple, but one small shortcut can lead to a huge problem. A weak joint can blow apart under pressure, causing major water damage and wasted work.
To properly install a CPVC ball valve, you must use CPVC-specific primer and solvent cement. The process involves cutting the pipe square, deburring the edge, priming both surfaces, applying cement, and then pushing and holding the joint firmly to allow the chemical weld to form.
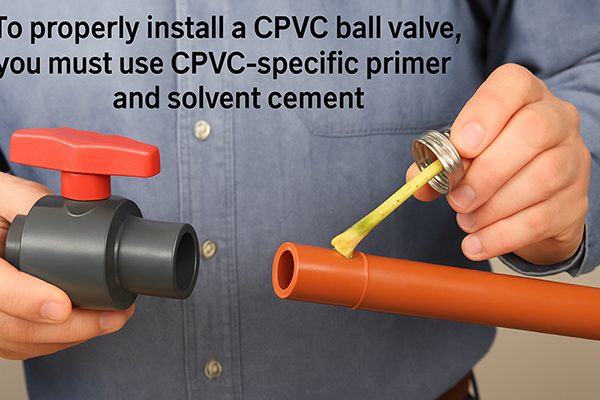
This process is about chemistry, not just glue. Each step is critical to creating a joint that is as strong as the pipe itself. This is something I always stress when talking to my partners, like Budi, a purchasing manager in Indonesia. His customers are often working on hot water systems for hotels or industrial plants. In those environments, a failed connection isn’t just a leak; it’s a serious safety issue. Let’s break down the essential questions to make sure your installation is safe, secure, and built to last.
How do you connect a valve to CPVC?
You have your valve and pipe ready to go. But using the wrong technique or materials will create a weak bond that is almost guaranteed to fail over time.
The primary method for connecting a valve to CPVC pipe is solvent welding. This uses a specific CPVC primer and cement to chemically melt and fuse the plastic surfaces, creating a single, seamless, and permanent leak-proof joint.
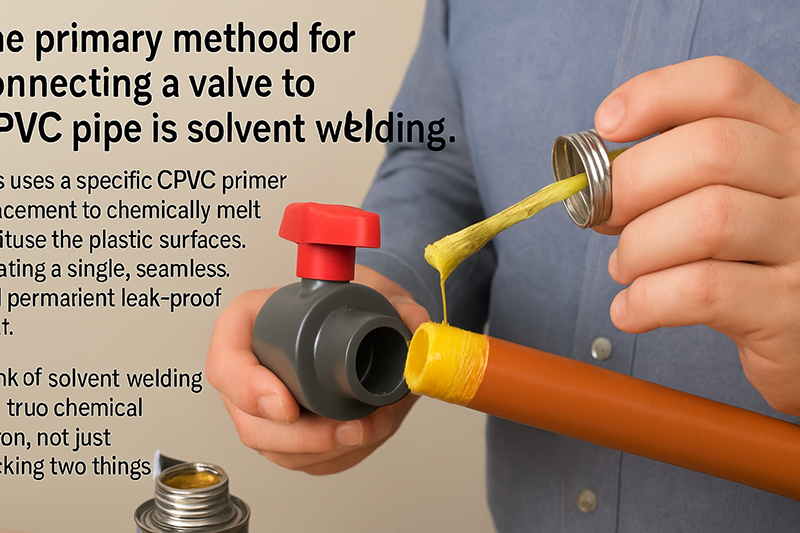
Think of solvent welding as a true chemical fusion, not just sticking two things together. The primer starts by softening and cleaning the outer layer of the pipe and the inner socket of the valve. Then, the CPVC cement, which is a mix of solvents and CPVC resin, further melts these surfaces. When you push them together, the melted plastics flow into each other. As the solvents evaporate, the plastic re-hardens into one solid piece. This is why using the correct, CPVC-specific cement (often yellow in color) is non-negotiable. Regular PVC cement will not work on CPVC’s different chemical makeup, especially at high temperatures. While threaded connections are also an option, solvent welding is the standard for a reason: it creates the strongest and most reliable bond possible.
Is CPVC really not used anymore?
You hear a lot about flexible PEX tubing in new construction. This might make you think CPVC is an outdated material, and you worry about using it for your project.
CPVC is definitely still used and is a top choice for many applications. It is especially dominant for hot water lines and in industrial settings due to its high-temperature rating, chemical resistance, and rigidity over long, straight runs.
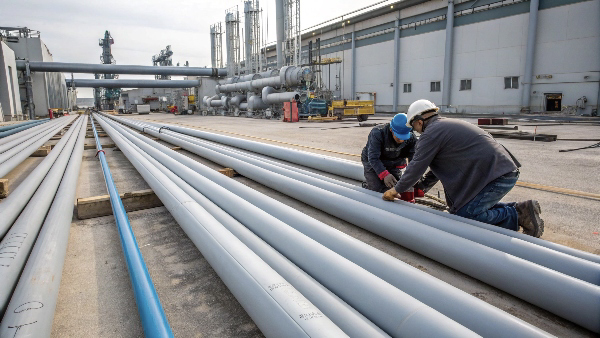
The idea that CPVC is obsolete is a common misconception. The plumbing market has simply grown to include more specialized materials. PEX is fantastic for its flexibility, making it fast to install in tight spaces with fewer fittings. However, CPVC has distinct advantages that keep it essential. I discuss this often with Budi, whose Indonesian market has a huge demand for it. CPVC is more rigid, so it doesn’t sag over long spans and looks neater in exposed installations. It also has a service temperature rating of up to 200°F (93°C), which is higher than most PEX. This makes it the preferred material for many commercial hot water applications and industrial processing lines. The choice isn’t about old vs. new; it’s about picking the right tool for the job.
CPVC vs. PEX: Key Differences
| Feature | CPVC (Chlorinated Polyvinyl Chloride) | PEX (Cross-linked Polyethylene) |
|---|---|---|
| Flexibility | Rigid | Flexible |
| Max Temperature | High (up to 200°F / 93°C) | Good (up to 180°F / 82°C) |
| Installation | Solvent Welding (glue) | Crimp/Clamp Rings or Expansion |
| Best Use Case | Hot & cold water lines, straight runs | Residential water lines, in-joist runs |
| UV Resistance | Poor (must be painted for outdoor use) | Very Poor (must be shielded from sun) |
Does it matter which way a water ball valve is installed?
You are ready to permanently cement a valve into the pipeline. But if you install it backward, you could accidentally block a key feature or make future repairs impossible.
For a standard true union ball valve, the flow direction does not affect its ability to shut off. However, it’s crucial to install it so the union nuts are accessible, allowing the main body to be removed for service.
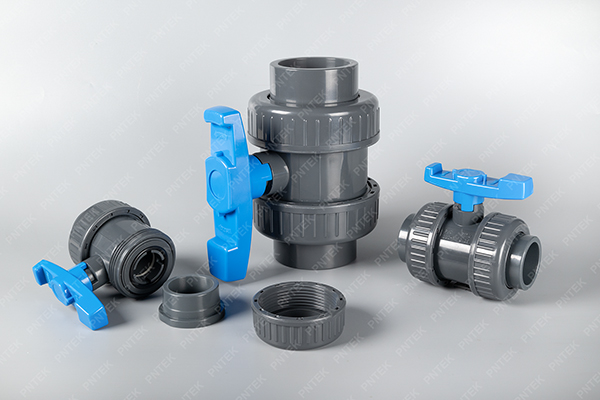
A ball valve is one of the simplest and most effective valve designs. The ball seals against the downstream seat, and it works equally well no matter which direction the water is flowing from. This makes it “bi-directional.” This is different from valves like check valves or globe valves, which have a clear arrow and will not work if installed backward. The most important “direction” for a true union ball valve like the ones we make at Pntek is a matter of practical access. The whole point of a true union design is that you can unscrew the unions and lift the central part of the valve out for repair or replacement. If you install the valve too close to a wall or another fitting where you can’t turn the union nuts, you completely defeat its main advantage.
How do you properly glue a CPVC ball valve?
You’re at the most critical step: making the final connection. A sloppy application of the cement can lead to a slow, hidden drip or a sudden, catastrophic failure.
To successfully glue a CPVC valve, you must follow a precise process: cut the pipe, deburr the edge, apply CPVC primer, coat both surfaces with CPVC cement, push together with a quarter turn, and hold it firmly for 30 seconds.
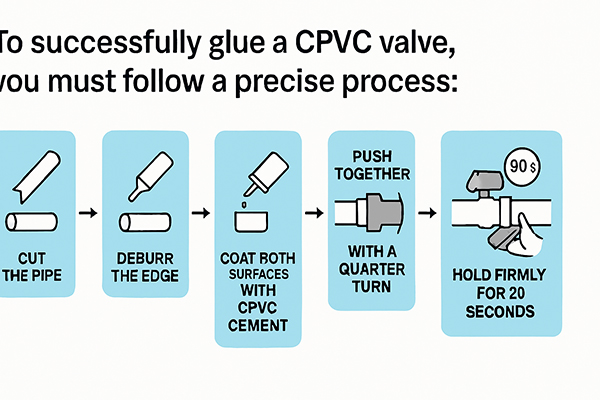
Let’s walk through this step-by-step. Getting this right ensures a perfect joint every time.
- Cut & Clean: Cut your CPVC pipe as squarely as possible. Use a deburring tool or knife to remove any burrs from the inside and outside of the pipe edge. These burrs can stop the pipe from seating fully.
- Test Fit: Do a “dry fit” to ensure the pipe goes about 1/3 to 2/3 of the way into the valve socket. If it bottoms out easily, the fit is too loose.
- Prime: Apply a liberal coat of CPVC primer (usually purple or orange) to the outside of the pipe end and the inside of the valve socket. The primer softens the plastic and is essential for a strong weld.
- Cement: While the primer is still wet, apply an even layer of CPVC cement (usually yellow) over the primed areas. Apply to the pipe first, then the socket.
- Assemble & Hold: Immediately push the pipe into the socket with a quarter-turn. Hold the joint firmly in place for about 30 seconds to prevent the pipe from pushing back out. Allow the joint to cure fully according to the cement manufacturer’s instructions before pressurizing the system.
Conclusion
Properly installing a CPVC valve means using the right primer and cement, carefully preparing the pipe, and following the solvent welding steps exactly. This creates a reliable, permanent, leak-free connection.
Post time: Aug-07-2025


