You have the right valve and pipe, but one small mistake during installation can cause a permanent leak. This forces you to cut everything out and start over, wasting time and money.
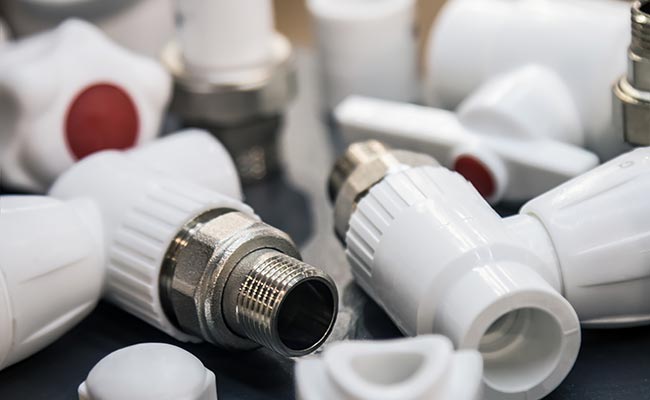
To install a ball valve on PVC pipe, you must first choose the right connection type: either a threaded valve using PTFE tape or a socket valve using PVC primer and cement. Proper preparation and technique are essential for a leak-proof seal.

The success of any plumbing job comes down to the connections. Getting this right is something I discuss often with partners like Budi in Indonesia, because his customers face this every day. A leaking valve is almost never because the valve itself is bad; it’s because the joint was not made correctly. The good news is that creating a perfect, permanent seal is easy if you just follow a few simple steps. The most important choice you’ll make is deciding whether to use threads or glue.
How to connect a ball valve to PVC?
You see threaded and socket valves available. Choosing the wrong one means your parts won’t fit, stopping your project until you can get the right valve.
You connect a ball valve to PVC in one of two ways. You use threaded (NPT or BSP) connections for systems that may need to be disassembled, or socket (solvent weld) connections for a permanent, glued joint.

The first step is always to match your valve to your pipe system. If your PVC pipes already have male threaded ends, you need a female threaded valve. But for most new plumbing work, especially for irrigation or pools, you will use socket valves and solvent cement. I always find it helpful when Budi’s team shows customers a table to clarify the choice. The method is dictated by the valve you have. You cannot glue a threaded valve or thread a socket valve. The most common and permanent method for PVC-to-PVC connections is the socket, or solvent weld, method. This process doesn’t just glue the parts together; it chemically fuses the valve and the pipe into a single, seamless piece of plastic, which is incredibly strong and reliable when done correctly.
Connection Method Breakdown
| Connection Type | Best For | Process Overview | Key Tip |
|---|---|---|---|
| Threaded | Attaching to pumps, tanks, or systems that need future disassembly. | Wrap male threads with PTFE tape and screw together. | Hand-tighten plus one quarter-turn with a wrench. Do not over-tighten! |
| Socket | Permanent, leak-proof installations like irrigation mainlines. | Use primer and cement to chemically fuse the pipe and valve. | Work quickly and use the “push and twist” method. |
Is there a correct way to install a ball valve?
You assume a valve works the same in any direction. But installing it with the wrong orientation can restrict flow, create noise, or make it impossible to service later on.
Yes, there is a correct way. The valve should be installed with the handle accessible, the union nuts (on a true union valve) positioned for easy removal, and always in the open position during gluing.

Several small details separate a professional installation from an amateur one. First, handle orientation. Before you glue anything, position the valve and make sure the handle has enough clearance to turn a full 90 degrees. I’ve seen valves installed so close to a wall that the handle can only open halfway. It sounds simple, but it’s a common mistake. Second, on our True Union valves, we include two union nuts. These are designed so you can unscrew them and lift the valve body out of the pipeline for service. You must install the valve with enough room to actually loosen these nuts. The most critical step, however, is the valve’s state during installation.
The Most Critical Step: Keep the Valve Open
When you are gluing (solvent welding) a socket valve, the valve must be in the fully open position. The solvents in the primer and cement are designed to melt PVC. If the valve is closed, these solvents can get trapped inside the valve body and chemically weld the ball to the internal cavity. The valve will be permanently fused shut. I tell Budi this is the number one cause of “new valve failure.” It’s not a valve defect; it’s an installation error that is 100% preventable.
How to glue a PVC ball valve?
You apply glue and stick the parts together, but the joint fails under pressure. This happens because “gluing” is actually a chemical process that requires specific steps.
To properly glue a PVC ball valve, you must use the two-step primer and cement method. This involves cleaning, applying purple primer to both surfaces, then applying PVC cement before joining them with a twist.

This process is called solvent welding, and it creates a bond that is stronger than the pipe itself. Skipping steps is a guarantee for future leaks. Here is the process we train Budi’s distributors to follow:
- Dry Fit First. Make sure the pipe bottoms out inside the valve’s socket.
- Clean Both Parts. Use a clean, dry cloth to wipe any dirt or moisture from the outside of the pipe and the inside of the valve socket.
- Apply Primer. Use the dauber to apply a liberal coat of PVC primer to the outside of the pipe end and the inside of the socket. The primer chemically cleans the surface and begins to soften the plastic. This is the most-skipped and most important step.
- Apply Cement. While the primer is still wet, apply an even layer of PVC cement over the primed areas. Don’t use too much, but ensure full coverage.
- Connect and Twist. Immediately push the pipe into the socket until it bottoms out. As you push, give it a quarter-turn. This motion spreads the cement evenly and removes any trapped air bubbles.
- Hold and Cure. Hold the joint firmly in place for about 30 seconds to prevent the pipe from pushing back out. Do not touch or disturb the joint for at least 15 minutes, and allow it to cure fully according to the cement manufacturer’s instructions before pressurizing the system.
How do you make a PVC ball valve turn easier?
Your brand new valve is very stiff, and you’re worried about snapping the handle. This stiffness can make you think the valve is defective when it is actually a sign of quality.
A new, high-quality PVC valve is stiff because its PTFE seats create a perfect, tight seal against the ball. To make it turn easier, use a wrench on the square nut at the handle’s base for better leverage to break it in.

I get this question all the time. Customers receive our Pntek valves and say they are too hard to turn. This is intentional. The white rings inside, the PTFE seats, are precision-molded to create a bubble-tight seal. That tightness is what prevents leaks. Cheaper valves with loose seals turn easily, but they also fail quickly. Think of it like a new pair of leather shoes; they need to be broken in. The best way to do this is to use a small adjustable wrench on the thick, square part of the handle shaft, right at the base. This gives you plenty of leverage without putting stress on the T-handle itself. After opening and closing it a few times, it will become much smoother. Never use WD-40 or other oil-based lubricants. These products can attack and weaken the PVC plastic and the EPDM O-ring seals, causing the valve to fail over time.
Conclusion
Proper installation, using the right connection method, orientation, and gluing process, is the only way to ensure a PVC ball valve provides a long, reliable, leak-free service life.
Post time: Jul-30-2025