You glued your new PVC valve into the pipeline, but now it leaks. A single bad joint means you have to cut out the pipe and start over, wasting time and money.
To properly install a PVC ball valve, you must use PVC-specific primer and solvent cement. The method involves cutting the pipe clean, deburring, priming both surfaces, applying cement, and then pushing and holding the joint firmly for 30 seconds to create a permanent chemical weld.
This process is about creating a chemical bond that is as strong as the pipe itself, not just sticking parts together. It’s a crucial topic I always emphasize with my partners, like Budi, a purchasing manager in Indonesia. His clients, from large contractors to local retailers, cannot afford failures. A single bad joint can sink a project’s timeline and budget. Let’s walk through the key questions to ensure every installation you handle is a long-lasting success.
How do you install a ball valve on PVC pipe?
You have the right parts, but you know there are no second chances with PVC cement. One small mistake means cutting out a section of pipe and starting over from scratch.
The installation process uses solvent welding and involves five key steps: cutting the pipe square, deburring the edges, applying PVC primer to both surfaces, coating with PVC cement, and then pushing the parts together with a quarter turn and holding them firmly.
Getting this process right is what separates a professional job from a future problem. Let’s break down each step in detail. This is the exact procedure I provide to Budi’s clients to guarantee a perfect seal.
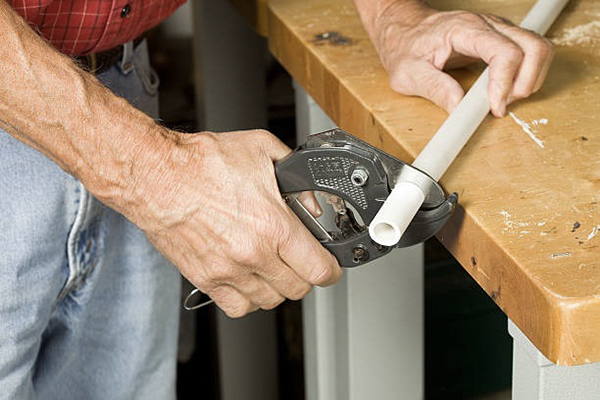
- Cut & Deburr: Start with a clean, square cut on your pipe. Any angle can create a gap in the joint. After cutting, use a deburring tool or a simple knife to shave off any plastic fuzz from the inside and outside of the pipe’s edge. These burrs can scrape cement away and prevent the pipe from seating fully.
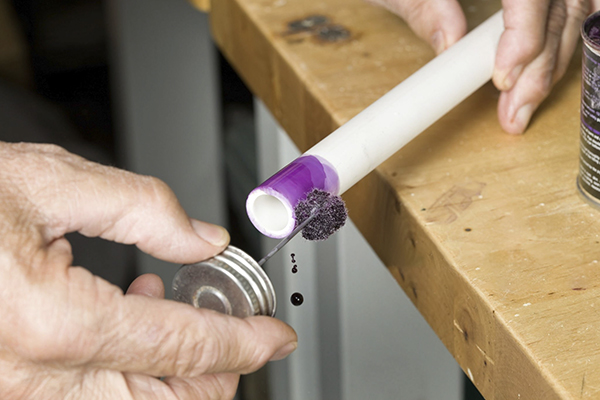
- Prime: Apply a liberal coat of PVC primer (it’s usually purple) to the outside of the pipe and the inside of the valve’s socket. Don’t skip this step! Primer isn’t just a cleaner; it starts to soften the plastic, preparing it for the chemical weld.
- Cement: While the primer is still wet, apply an even layer of PVC cement over the primed areas. Apply it to the pipe first, then give the valve socket a thinner coat.
- Push, Turn & Hold: Immediately push the pipe into the socket with a small quarter-turn twist. This twist helps spread the cement evenly. You must then hold the joint together firmly for at least 30 seconds. The chemical reaction generates pressure that will try to push the pipe back out.
What is the right way to install a ball valve?
The valve is in, but the handle hits the wall. Or worse, you installed a true union valve so close to another fitting that you can’t get a wrench on the nuts.
The “right way” to install a ball valve considers future use. This means ensuring the handle has a full 90-degree clearance to turn and that the union nuts on a true union valve are completely accessible for future maintenance.
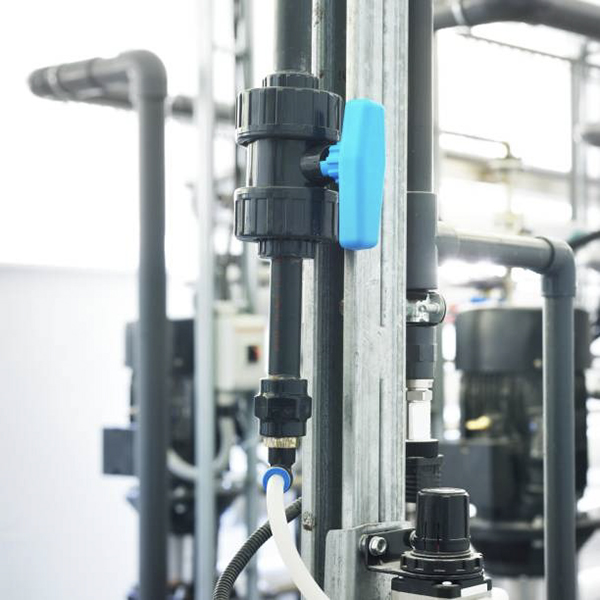
A successful installation is about more than just a leak-proof seal; it’s about long-term functionality. This is where a little planning makes a huge difference. The most common mistake I see is a lack of planning for access. A ball valve must rotate 90 degrees to go from fully open to fully closed. Before you even open the can of cement, hold the valve in place and swing the handle through its full range of motion. Make sure it doesn’t hit a wall, another pipe, or anything else. The second point, especially for our Pntek true union valves, is union access. The entire benefit of a true union design is that you can unscrew the unions and lift the main body out for repair or replacement without cutting the pipe. I always remind Budi to stress this to his contractor clients. If you install the valve where you can’t get a wrench on those nuts, you have just turned a premium, serviceable valve into a standard, throwaway one.
How do you connect a valve to a PVC pipe?
Your valve has threads, but your pipe is smooth. You’re wondering if you should glue it, thread it, or if one way is better than the other for a strong connection.
There are two primary ways: solvent welding (gluing) for a permanent, fused bond, and threaded connections for a joint that can be disassembled. For PVC-to-PVC systems, solvent welding is the stronger and more common method.
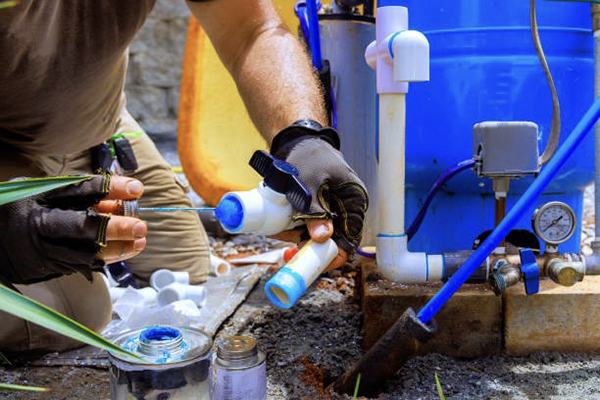
Choosing the right connection type is fundamental. The vast majority of PVC systems rely on solvent welding, and for good reason. It doesn’t just stick the parts together; it chemically fuses them into a single, seamless piece of plastic that is incredibly strong and leak-proof. Threaded connections have their place, but they also have weaknesses. They are useful when connecting a PVC valve to a metal pump or tank that already has threads. However, threaded plastic connections can be a source of leaks if not sealed properly with Teflon tape or paste. More importantly, over-tightening a threaded plastic fitting is a common mistake that can crack the female connection, causing a failure.
Connection Method Comparison
| Feature | Solvent Weld (Socket) | Threaded (MPT/FPT) |
|---|---|---|
| Strength | Excellent (Fused Joint) | Good (Potential weak point) |
| Reliability | Excellent | Fair (Prone to over-tightening) |
| Best Use | PVC-to-PVC connections | Connecting PVC to metal threads |
| Type | Permanent | Serviceable (removable) |
Are PVC ball valves directional?
The cement is ready, but you hesitate, looking for an arrow on the valve body. Gluing a directional valve in backward would be a costly mistake, forcing you to destroy it.
No, a standard PVC ball valve is bi-directional and will shut off flow equally well from either direction. Its function is not dependent on flow orientation. The only “direction” that matters is installing it so you can access the handle and union nuts.
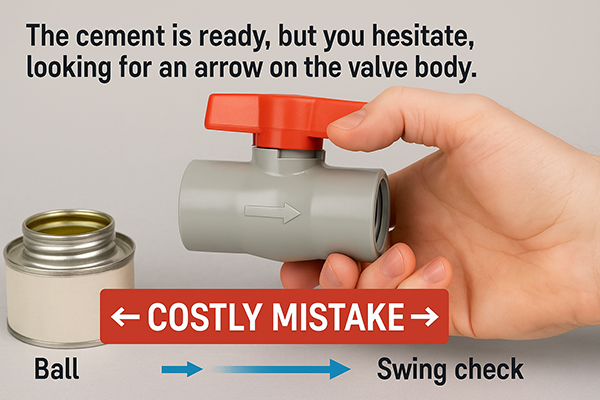
This is a great question that shows careful thinking. You are right to be cautious, as some valves absolutely are directional. A check valve, for example, only allows flow in one direction and will have a clear arrow printed on it. If installed backward, it simply won’t work. However, a ball valve’s design is symmetrical. It has a ball with a hole through it that seals against a seat. Since there is a seat on both the upstream and downstream sides, the valve seals perfectly no matter which way the water is flowing. So, you can’t install it “backward” in terms of flow. As I mentioned before, the only “direction” you need to worry about is the practical orientation for using the valve. Can you turn the handle? Can you access the unions? That is the true test of a correct installation for a quality valve like the ones we produce at Pntek.
Conclusion
For a perfect PVC ball valve installation, use the correct primer and cement. Plan for handle and union nut access to ensure a reliable, leak-proof, and serviceable connection.
Post time: Aug-11-2025


